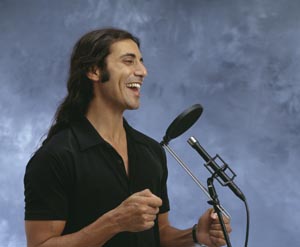
"Untie yourself from the belief that there is only one way to record a human voice". Sound engineer and producer Gary Baldassari from Florida has spent a lifetime in the recording room and behind the faders recording famous talking heads for the Disney empire, but also artists like Whitney Houston, Manhattan Transfer and other renowned vocalists have been through Gary's capable hands.
Frontal Close Placement
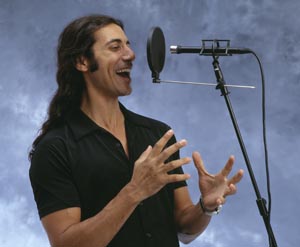
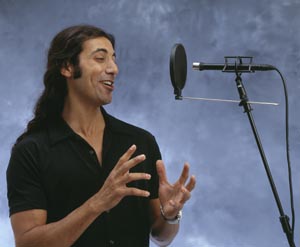
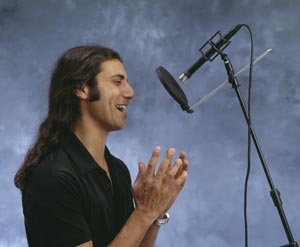
The most common method of recording a human voice for any purpose is the direct on axis close proximity placement technique. Producers/engineers commonly call this "in your face". It has a number of advantages; intimate sound, good articulation of consonants, up front or leading sound and proximity warmth. It can also have a number of disadvantages; the need to de-ess, plosive popping, the lack of depth and lack of natural room tone.
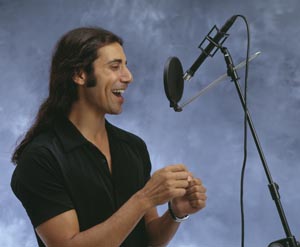
Exactly how close the mic is to the mouth should be set for each vocal artist. Listen for the balance of attributes versus disadvantages and move the mic accordingly. The starting point can be about 4 inches from the mouth directly on axis. You may even angle it by up to 90° to help smooth out the offending sound component. The microphone design must be very clear in its off axis response for this to work. Have your assistant move the mic in and out from the voice, about 2 inches to 6 inches while the performer is rehearsing and listen for the proximity warmth boost as it balances to consonant brightness. The pop filter should always be employed when close miking the mouth.
Frontal Loose Placement
A less common technique is the loose placement in front of the mouth. Most microphones cannot be used this way due to the unevenness of the off axis response. However a microphone with smooth off axis response can excel at this placement technique if the recording room is of a certain acoustic merit. The first advantage, if you can learn to use it in your recording, is a natural room tone. The balance between voice and room is set by the distance to the mouth and the placement of the performer in the room. Each room has its good spots and we hope you can find your own in your room. Listen for a short (0.9 ms or less) reverberant quality. A good starting point for this technique is around 12 inches from the mouth. By working with your assistant move the mic in and out while the performer is rehearsing and listen to the voice-to-room tonal balance. Be careful not to get too roomy because it is hard to reduce later. By getting a little room tone in with the voice, a more natural and comparatively rare sound will emerge. This technique gives natural depth of narration and applies to scenes where the vocal artist is not "in your face". You should notice that the need to de-ess and filter at low frequencies is reduced. The proximity warmth is replaced by natural room timbre, which is again more rare in today's recording. The recorded natural depth has the power to draw the listener into the recording rather than blow them back in their seats. This adds another trick to your engineering collection.
Top Head Placement
Sometimes the direct on axis techniques of close and loose do not produce the desired effects. This is when creative recording teams start to discover new ground. First, it requires a microphone with an extremely clear off axis response. By having the assistant move the microphone from the nasal area up, a different blend of "direct to room tone" can be discovered. If the performer is very breathy and / or pops a lot of plosives or has a very strong "S" this "high on the head" technique should be tried. Also if the performer is very diaphragmatic in his performing technique and produces too much body from proximity effect this should be tried. The human head is a nasal resonator; try pointing the direct axis of the microphone at the nasal cavity, just above the eyebrow. While the performer is rehearsing change the angle from direct on axis to 45° down and even 45° up. You may even point it over the head, you won't know what can work if you don't try.
Untie yourself from the belief that there is only one way to record a human voice, and that is with the microphone pointed straight at the mouth. If the microphone is of a certain quality level with respect to off axis response a whole new vista can be discovered and used in your daily technique. Sometimes the mic can wind up over the head pointed down and away from the speaking voice.
Lower Chest Placement
Still another technique that can be learned is the diaphragmatic placement. This style of placement cannot be used easily if there is a standard music stand involved. The reason is; the pointing the microphone at the chest cavity will be interfered with by the music stand itself and cause reflections from the music stand to smear the voice. High tech anti resonant or mesh music stands eliminate this problem. If the script is one or two pages or memorized this should be tried. What it yields is natural diaphragmatic warmth. Start with the mic about 12 inch from the mouth, low and at the centre of the chest cavity. Try angling it up and down 45° while the talking head is rehearsing. Listen for the balance of articulation in the consonants to the lower mid frequency roll that the human chest cavity produces. You usually can find a very full bodied sound that is again different from the "in your face" sound most engineers discover and produce. One good reason to use this technique is if the speaker has an extremely strong "S", really pops or is very nasal.
